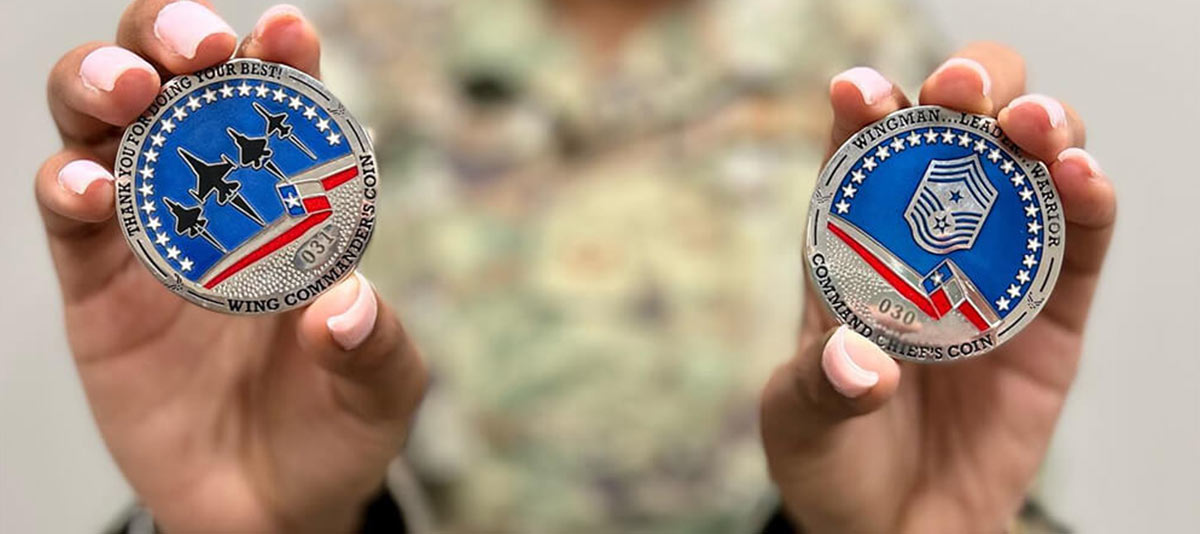
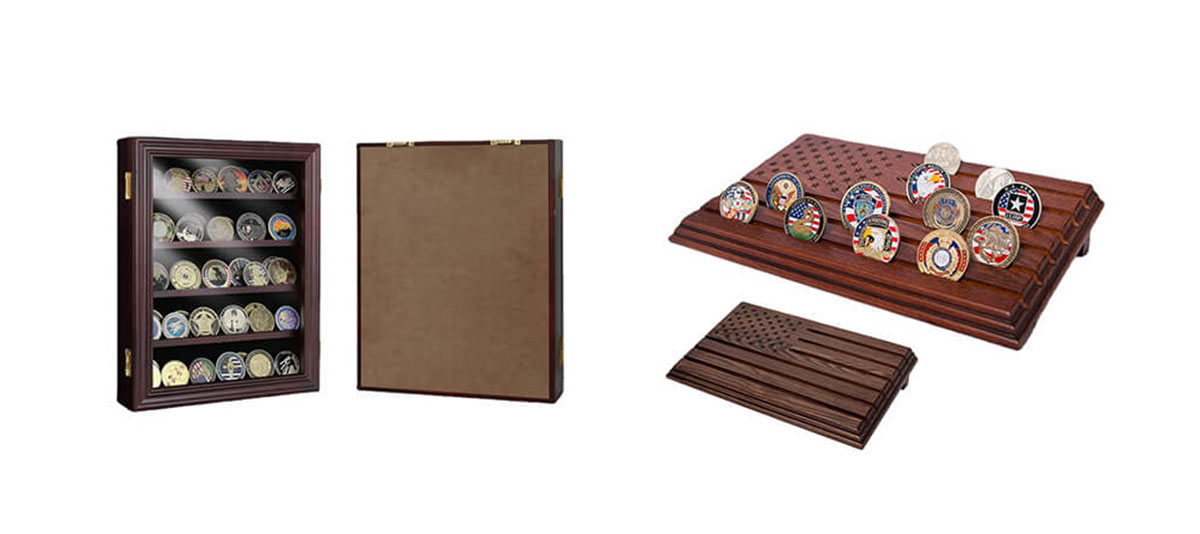
Companies and organizations around the world love to gift their members with Challenge Coins as a way to commemorate special events. As a team, each coin represents achievement, belonging, and camaraderie. Because challenge coins mean so much to so many people, people often ask how they were made. The process of making coins is relatively easy to understand if you know the steps. Here’s how to make a challenge coin.
1. Designing Process
Every challenge coin starts with the design process. With the development of high-performance computers and CNC machines, this process has become more automated. It begins by creating the design in a computer-aided design (CAD) system. This allows the CNC machine to accurately cut the design into a piece of metal for use later in the process.
The design of the challenge coin is limited only by the capabilities of the manufacturer. There are many factors that can vary, including coin size, material, finish, color, and shape. On top of that, special design features can be added as long as the computer can understand what you are trying to do.

2. Milling
Once the design is created in the CAD system, it is transferred to the CNC machine and broken down into cutting instructions. This CNC machine is capable of cutting the solid metal into unique shapes. It takes a negative image of your design and cuts it into a large piece of metal called a die or mold. This essentially takes your design and cuts away the space around the design part. This way, it can be used to press an exact copy of your design into another piece of metal.
Each coin requires two dies, one for the front and one for the back. These dies are usually made of a very hard metal such as steel, which can withstand a lot of pressure without bending or breaking your design. No matter how many coins you order, only one set of dies is needed to complete one production line.
3. Die
Once the die or die set is complete, the next step is to start making coins. The coin blanks are pressed with a die set so that your design is printed on both sides. This is called stamping, and it requires a very large machine to apply enough pressure to reshape the coin. A skilled operator can do this part relatively quickly, depending on the number of coins you’re ordering.
Throughout the process, coins are checked to ensure the design is stamped correctly. Any defective coins will either be repaired or removed from production and replaced with new copies.

4. Edging
The edge of the coin can have its own unique design. There are many options available to you, and the way they are made depends on which one you choose. Some of these options are:
- rope (dead card)
- Chain (dead card)
- Branch line (dead card)
- flat (dead card)
- Custom Edge (dead card)
- Bevel (machine cut)
- sector (machine cut)
- Bevel (machine cut)
- Cross-cutting (machine cutting)
- Reeds (machine cut)
Edge design is largely a matter of personal preference. Each option has its own characteristics that complement the rest of the coin. When you’re thinking of ways to improve your coin’s design, upgrades need to be considered.
5. Polishing
Stamped and cut metal can have many sharp edges and burrs. These burrs need to be removed before continuing with the process. There are several ways to do this, including doing it by hand. However, there are several machines that automate this process.
After the polishing process is complete, each coin is inspected for flaws. At this point, any defects found can be corrected. However, quality inspectors take great care to ensure that each finished coin is of top quality. It’s not uncommon for them to remove coins with very minor flaws from production.
6. Plating
Plating is the process of coating coins with different materials. Coins made of precious metals, including gold or silver, are not made entirely of these materials. This would make each coin very expensive. Instead, they’re made of more common materials like copper, zinc, and iron. Then, a layer of gold or silver is attached to the surface of the coin. This process uses a series of chemicals to clean the coin and help transfer plating material to its surface.
7. Dyeing
Coloring is the process of adding color to coins. This can be done by machine or by hand using special tools. Enamel paint is used to fill empty spaces in your design. The level of detail in which a color is created in a design depends on how that color is applied.
You want a design with heightened color and detail, and there are a few ways to do it. In some cases, pictures can be printed directly on coins. This gives you the highest image quality of all the options.
8. Finishing
Completion often occurs in multiple parts of the process. Before or during the polishing process, a finishing process is used. There are several ways to do this, including:
- Sandblasting (happens before the polishing process)
- Flat/matte finish (happens before the polishing process)
- Brushing (occurs before the polishing process)
- polishing (occurs during polishing)
This allows different parts of the coin to have different finishes because they were done at different times. For example, a coin can have flat areas flattened before polishing, giving them a matte appearance. Afterward, the raised edges can be polished to make them shiny. The combination of these finishes creates a contrast between edges and other surfaces, resulting in a more detailed design.
The finish can also be changed during the electroplating process by choosing a different material. Gold and silver are common options, but they aren’t the only ones available either. This creates more color contrast while still allowing for a metallic finish.
9. Get your Challenge Coin
You can make your own challenge coin by those steps. The most difficult part for you may be the design process, you may need a challenge coins supplier to help you. You can try to find some challenge coin suppliers on Google on Alibaba.