Pop-up drains are common in bathroom sinks. With this type of drain, you pull the lift lever to lower the drain, then push it to raise it. Use some basic tools to replace an existing pop-up drain or install a new one. Fortunately, you can get a new pop-up drain assembly that works properly in just a few steps. Below is a guide to help you get started.
1. Preparation before installation
Tool
- bucket
- putty knife
- Hacksaw
- Tongue and groove pliers
- cleaning cloth
- pipe wrench
- plumbers tape
Material
- pop up drain kit
- Plumber’s Putty
2. Pop-up drain pipe installation steps
Pop-up drains are one of the most popular drain styles. When you press the lift lever, usually located behind the faucet spout, the lift lever causes a pivot lever under the sink to raise the drain plug, opening the drain so water can flow through. Instead, when you pull the lift lever up, the pivot lever pulls the drain plug down, sealing the drain.
If the drain seal isn’t as tight as it once was, it may be time to replace the pop-up drain assembly. Another reason to replace your drain assembly is if you are remodeling your bathroom or replacing your sink. Once you’ve selected your new pop-up drain assembly, you’re ready to install it. We’ve listed the general steps for this process below, but always follow the specific instructions for your drain kit.
1) Remove the P-type trap
Before you get started, learn about the various parts of a pop-up drain. They include:
- Tailpiece: The long cylindrical base of a drainage assembly.
- Pivot Rod: The horizontal rod extending from above the tailpiece.
- Pivot seal and gasket: Where the pivot rod meets the drain assembly.
- Lift Rod: A vertical rod that rises from a pivot rod
- Trevis Band: Thin metal band with holes for pivot rods.
- Flange and Gasket: The part of the drain assembly that connects to the tailpipe. Once installed, the flange will cover the hole in the sink drain.
- Plug: The upper part of the drainage assembly, which can be lifted and lowered.
- When you pull the lift lever, it moves the pivot rod and the stopper lowers.
Cover the floor or inside of your dresser with newspapers or plastic bags. Place a cleaning bucket under the sink to catch water.
- Locate the water supply valve under the sink. Designs vary, but most have rotating knobs. Turn this knob to turn off the water supply.
- To access the existing drain pipe, you will need to first remove the P-trap. The P-trap is a U-shaped pipe that connects the sink tailpipe to the drain pipe.
- Use a pipe wrench to hold the nut at the top of the P-trap. Place one hand on the end of the handle and the other under your head, and twist to the left. Remove the nut from the bottom of the P-trap in the same manner.
- Slowly pull out the P-shaped trap. Set it aside until later.
Tip: Take this opportunity to deep clean the P-trap. Use a flexible pipe brush and a bucket filled with warm water and dish soap to scrub it down.

2) Remove the drain pipe and flange
- Remove the existing drain assembly. You will need to remove the clevis strap and the spring clip attached to it. Hold the pivot rod while unscrewing the washer. Once the gasket is off, slide the pivot rod off the tailpiece and lift the plug out of the sink.
- Use a pipe wrench to completely loosen the nut on the drain tailpipe. Push the tailpiece upward to release the drain flange. If the flange won’t budge, wiggle the tailpiece until the seal breaks. Finally, lift the entire tailpiece off the sink.
- Use bathroom cleaning products and a sponge to clean your sink. Dry the sink with a towel. Now you are ready to install the new flange.
- Take a small piece of piping putty and roll it between your fingers. Pipe putty is a flexible substance that seals sink drain pipes. Continue applying the putty until it warms and softens.
Tip: Apply the plumber’s putty to the narrow bottom of the new drain flange. If necessary, use silicone caulk in place of pipe putty.
3) Replace the drainage tailpipe
The next step is to replace the drain tailpipe.
- Insert the washer and washer into the top of the tailpiece. Apply pipe joint compound to the side of the gasket that fits the sink. A pipe joint compound is an adhesive used in pipe work. The compound forms a tight seal with the drain pipe.
- Slide the drain tailpipe under the sink through the drain hole. Slide the flange into the drain opening and screw it onto the tailpiece.
- Hold the tailpiece with one hand while hand-tightening the nut. Continue until it no longer moves easily, then tighten it with pliers. Turn the drain tailpipe so that it aligns with the pop-up assembly behind it.
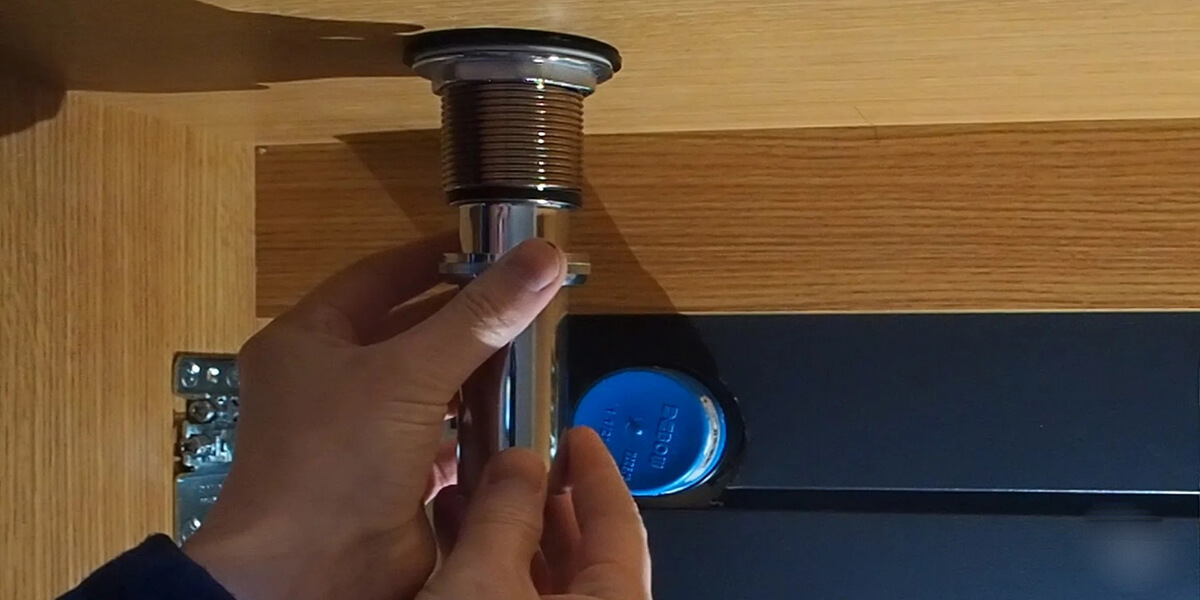
4) Insert the drain plug
Check the sink to see if there is putty pushed past the flange. Use a putty knife to gently lift it up. Slide the pop-up drain stopper through the sink and into the flange. The hole in the end of the stopper should face the back of the sink.
5) Reinstall the popup component
The pop-up assembly drain parts need to be assembled now.
- Slide the pivot rod and ball into the opening in the tailpiece. It is important that the ball fits snugly into the opening. Slide the ball nut onto the pivot rod and thread it onto the threads of the drain tailpipe.
- Push the pivot rod through one end of the spring clip and through the nearest hole in the U-clip strap. Then, thread the other end of the spring clip through the rod to secure it in place.
- Before the last step, stop and check that the drain assembly is working properly. Keep an eye on the drain plug as you pull and push the lever.
- If everything is working properly, the stopper should open and close completely. It should move smoothly. If not, check to see if the pivot rod nut is too tight and needs to be loosened. If the stopper does not close completely, adjust the pivot lever by pinching and moving the spring clip.
- Test the plug again and continue adjusting the pivot lever until the plug lowers and raises correctly.
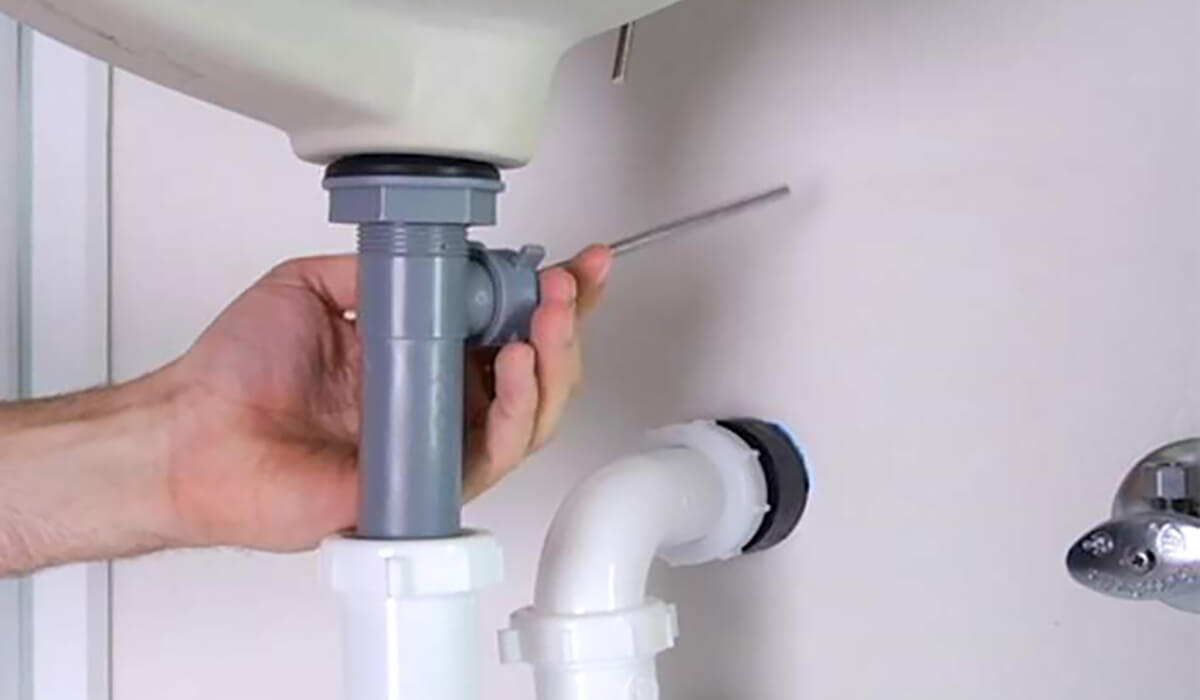
6) Reconnect the pipes
Just reconnect the pipes and you’re done. Apply plumber’s tape to tailpipe threads and drain branch pipes to ensure the pipes don’t leak. Make sure the P-trap is connected to the drain tailpipe and drain pipe. Turn the water supply back on.
To check the results of the work, close the sink stopper and fill the sink with water. If the water doesn’t drain out, the pop-up assembly will work. Drain the sink and check the bottom for leaks.
7) Clean up
Use a dry cloth and putty knife to clean away the remaining plumber’s putty and other debris. Wipe away dust, dirt, and water.
3. Conclusion
Installing a drain assembly is a DIY job that can be completed in just a few hours using a few tools and some basic plumbing supplies. Now that you know how pop-up drains work, you’re ready to fix the problem.